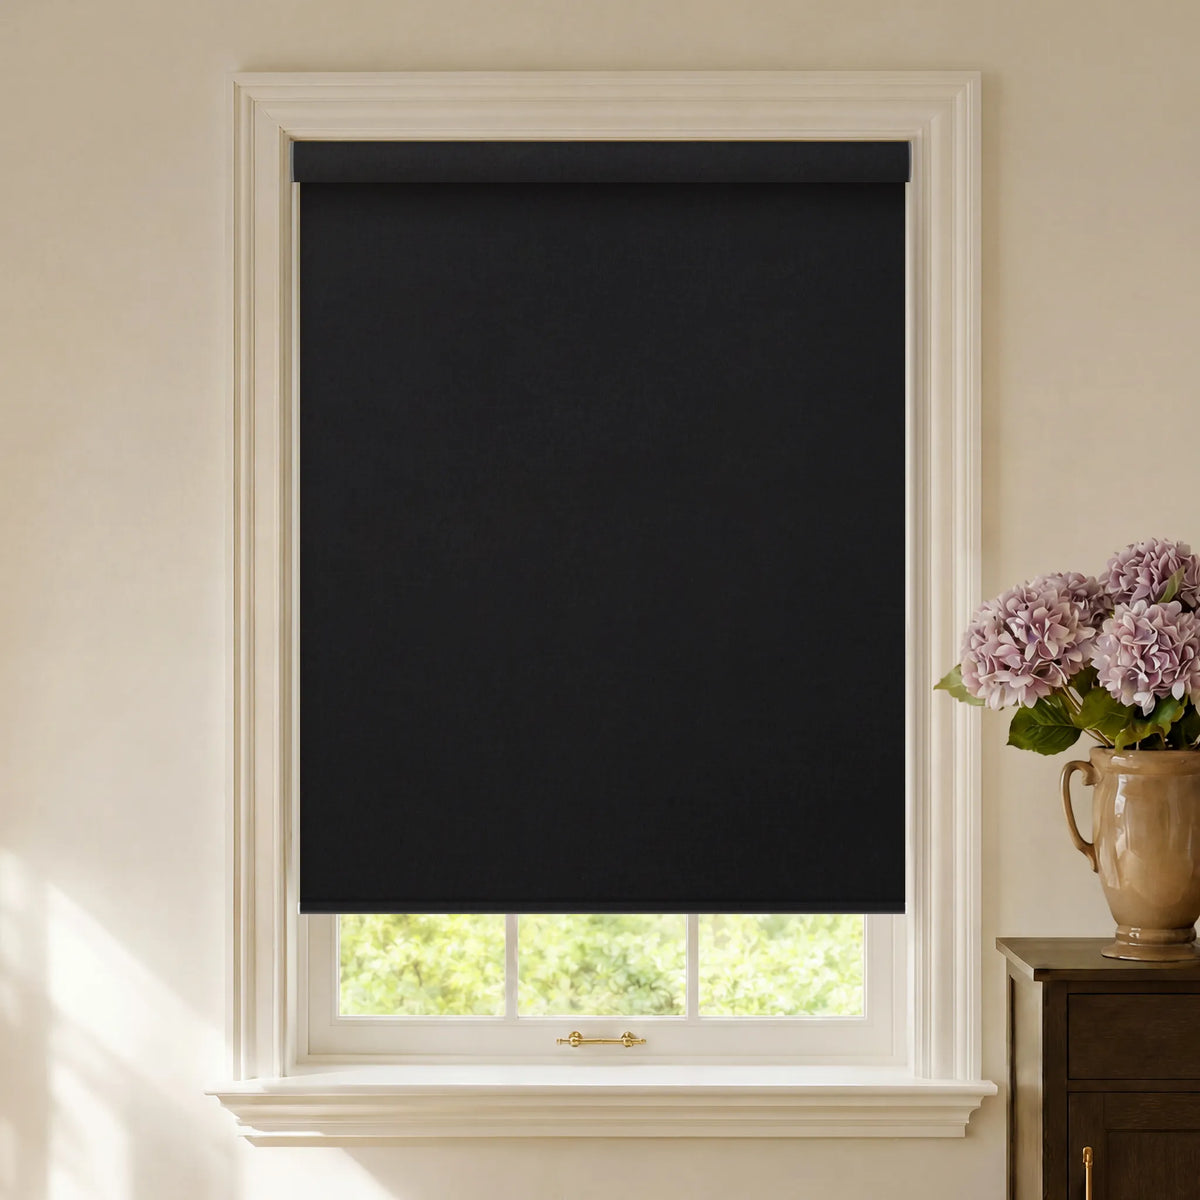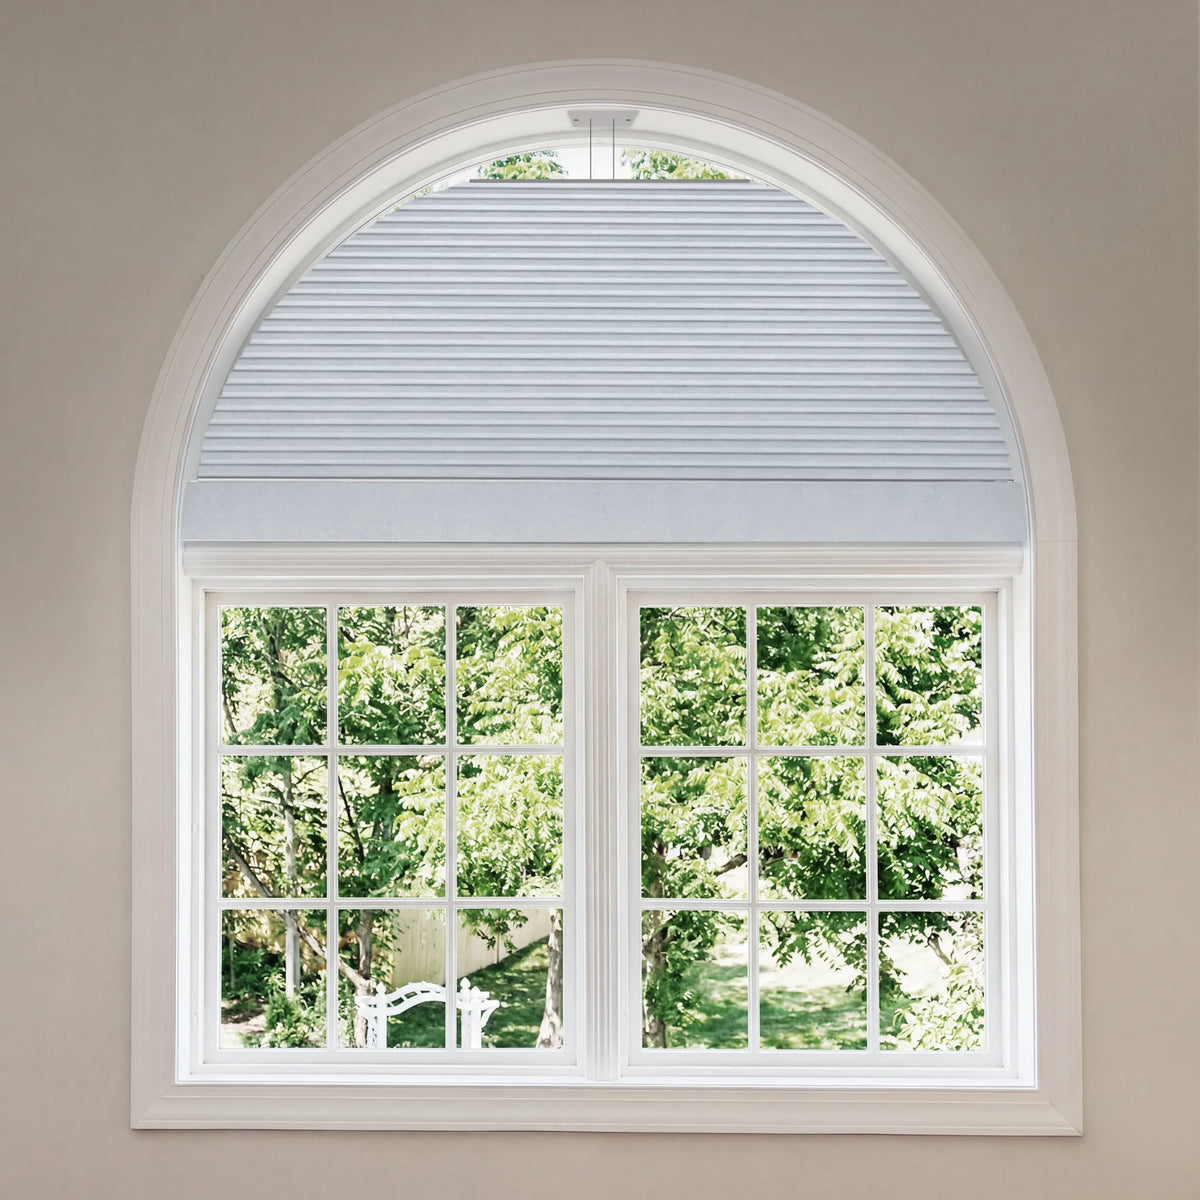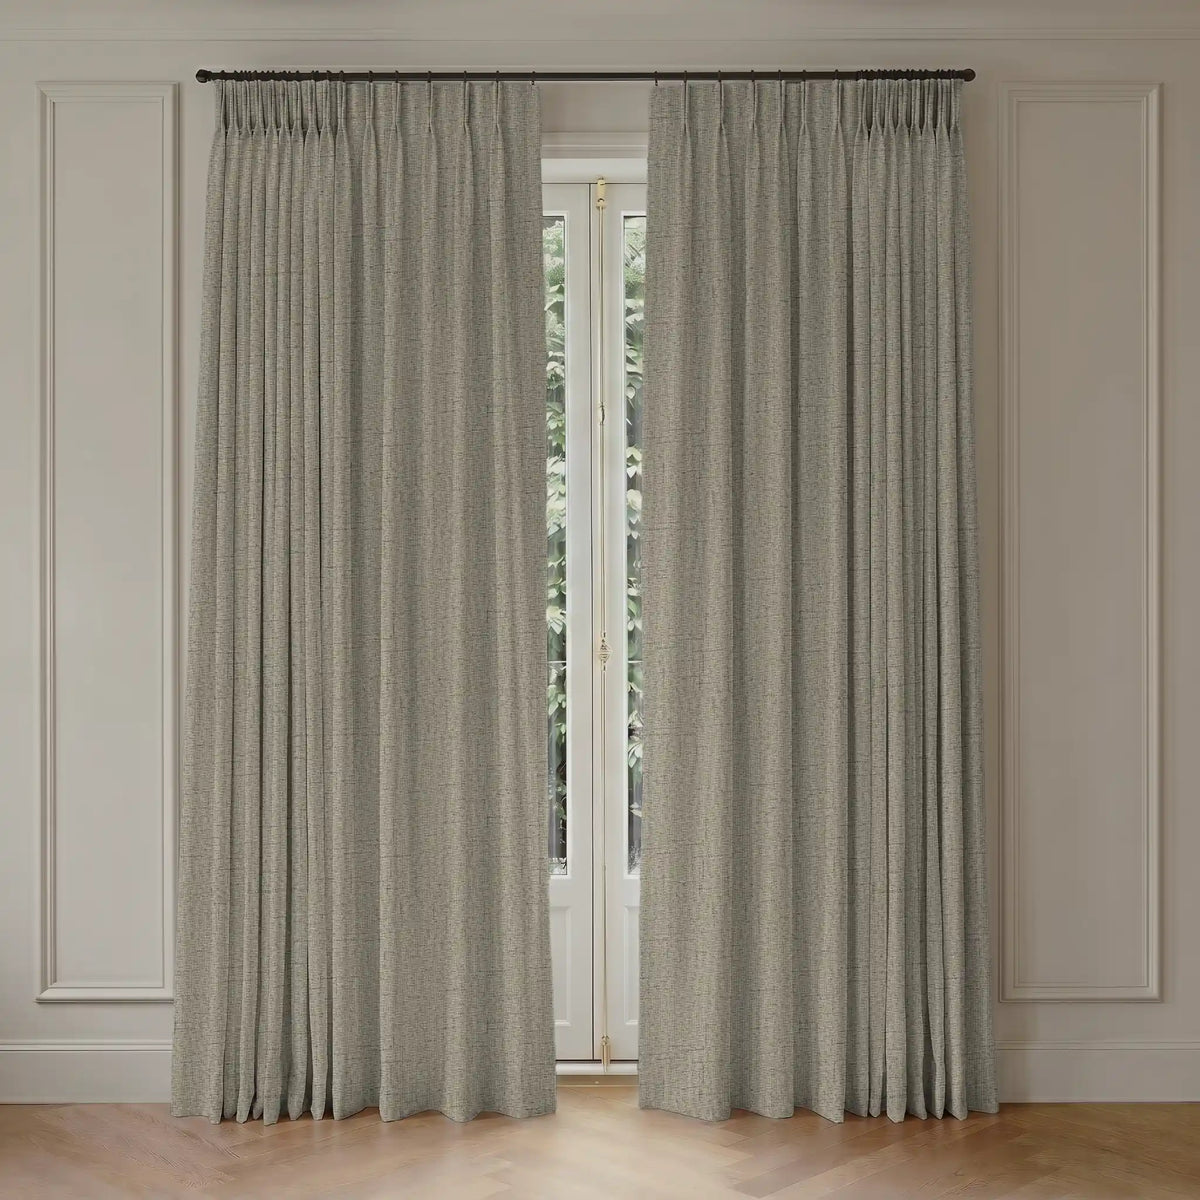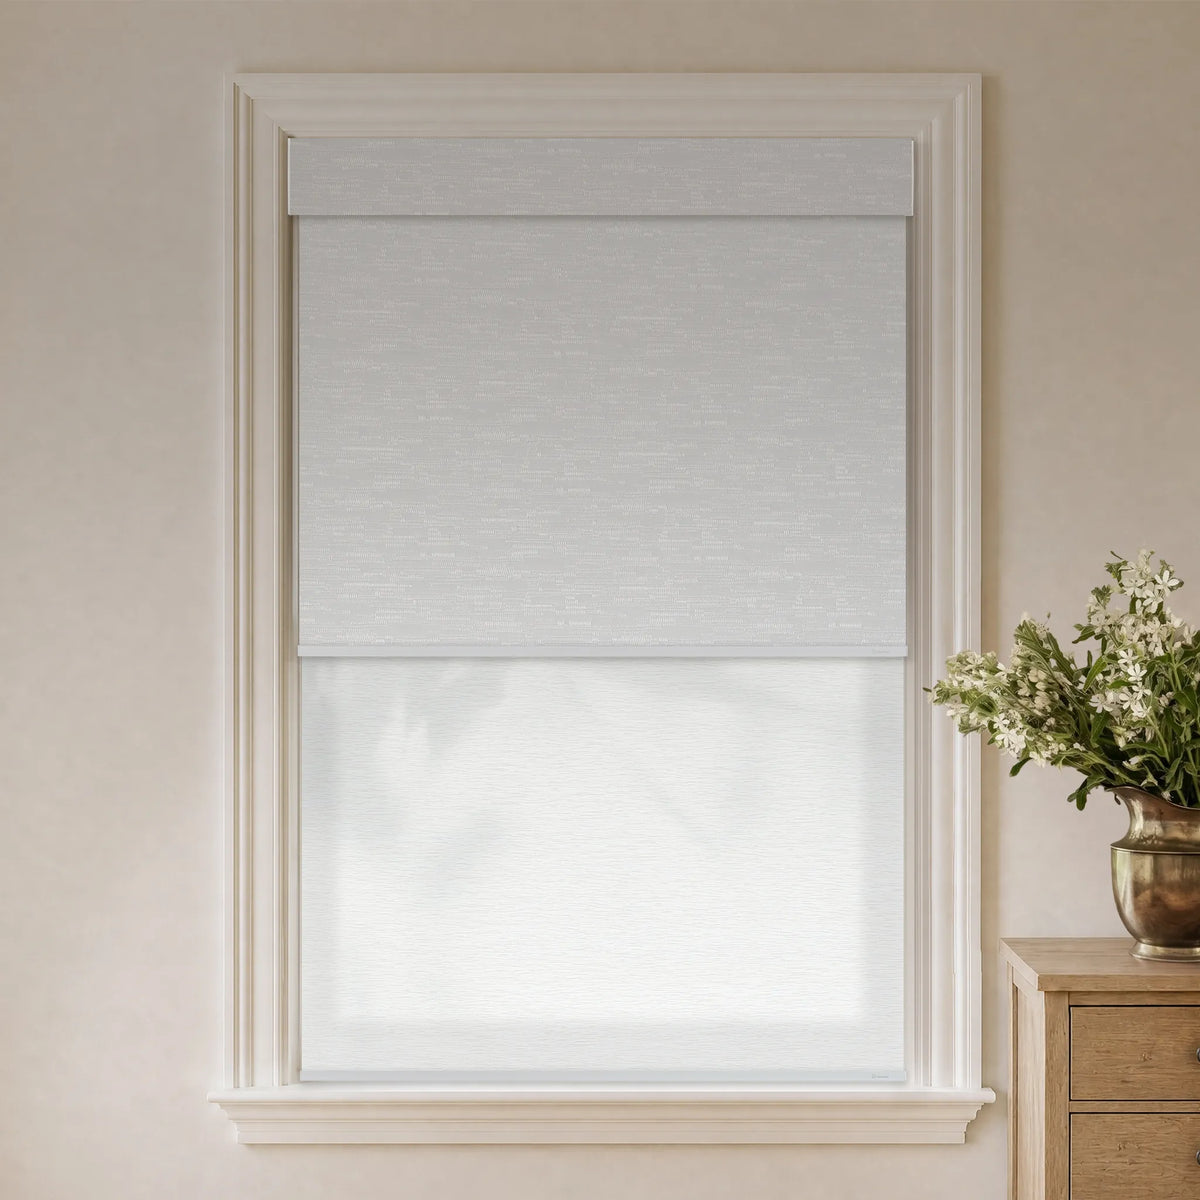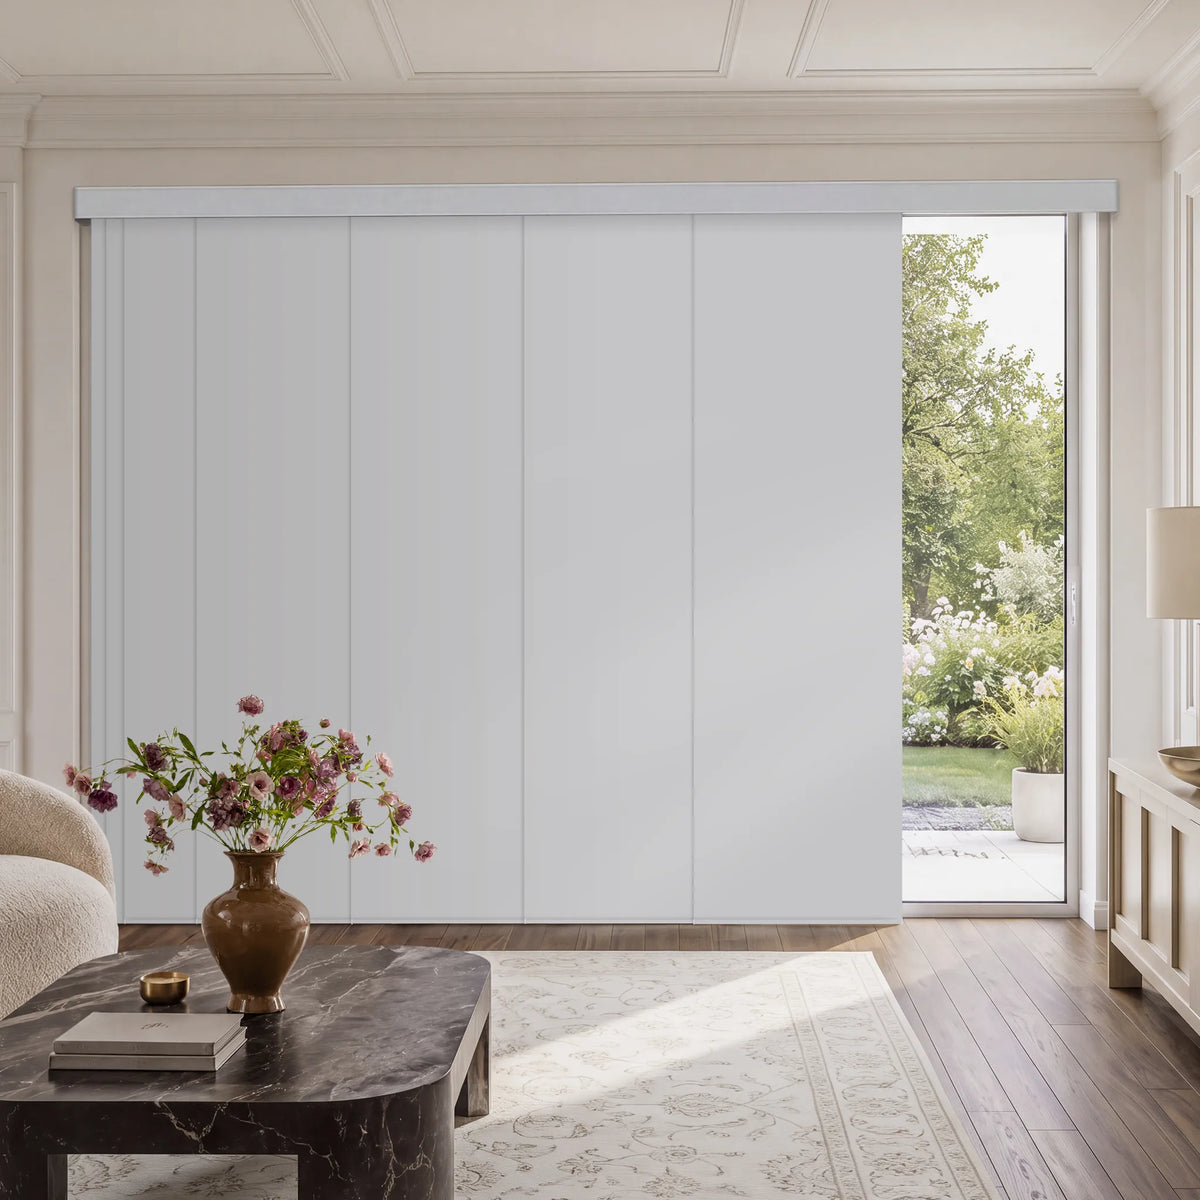
Knowing how to install motorized shades quickly starts with accurate measurements, correct brackets, and careful use of the manual for your specific model. Most Graywind shades support DIY installation with household tools, although oversized shades, high windows, or difficult surfaces may require professional help. Before drilling, confirm the mount type, available depth, and hardware, then charge or connect the motor as specified. This guide covers preparation, bracket and headrail installation, calibration, common measuring questions, and Graywind's no-drill option for renters.
How to Install Motorized Shades: Tools
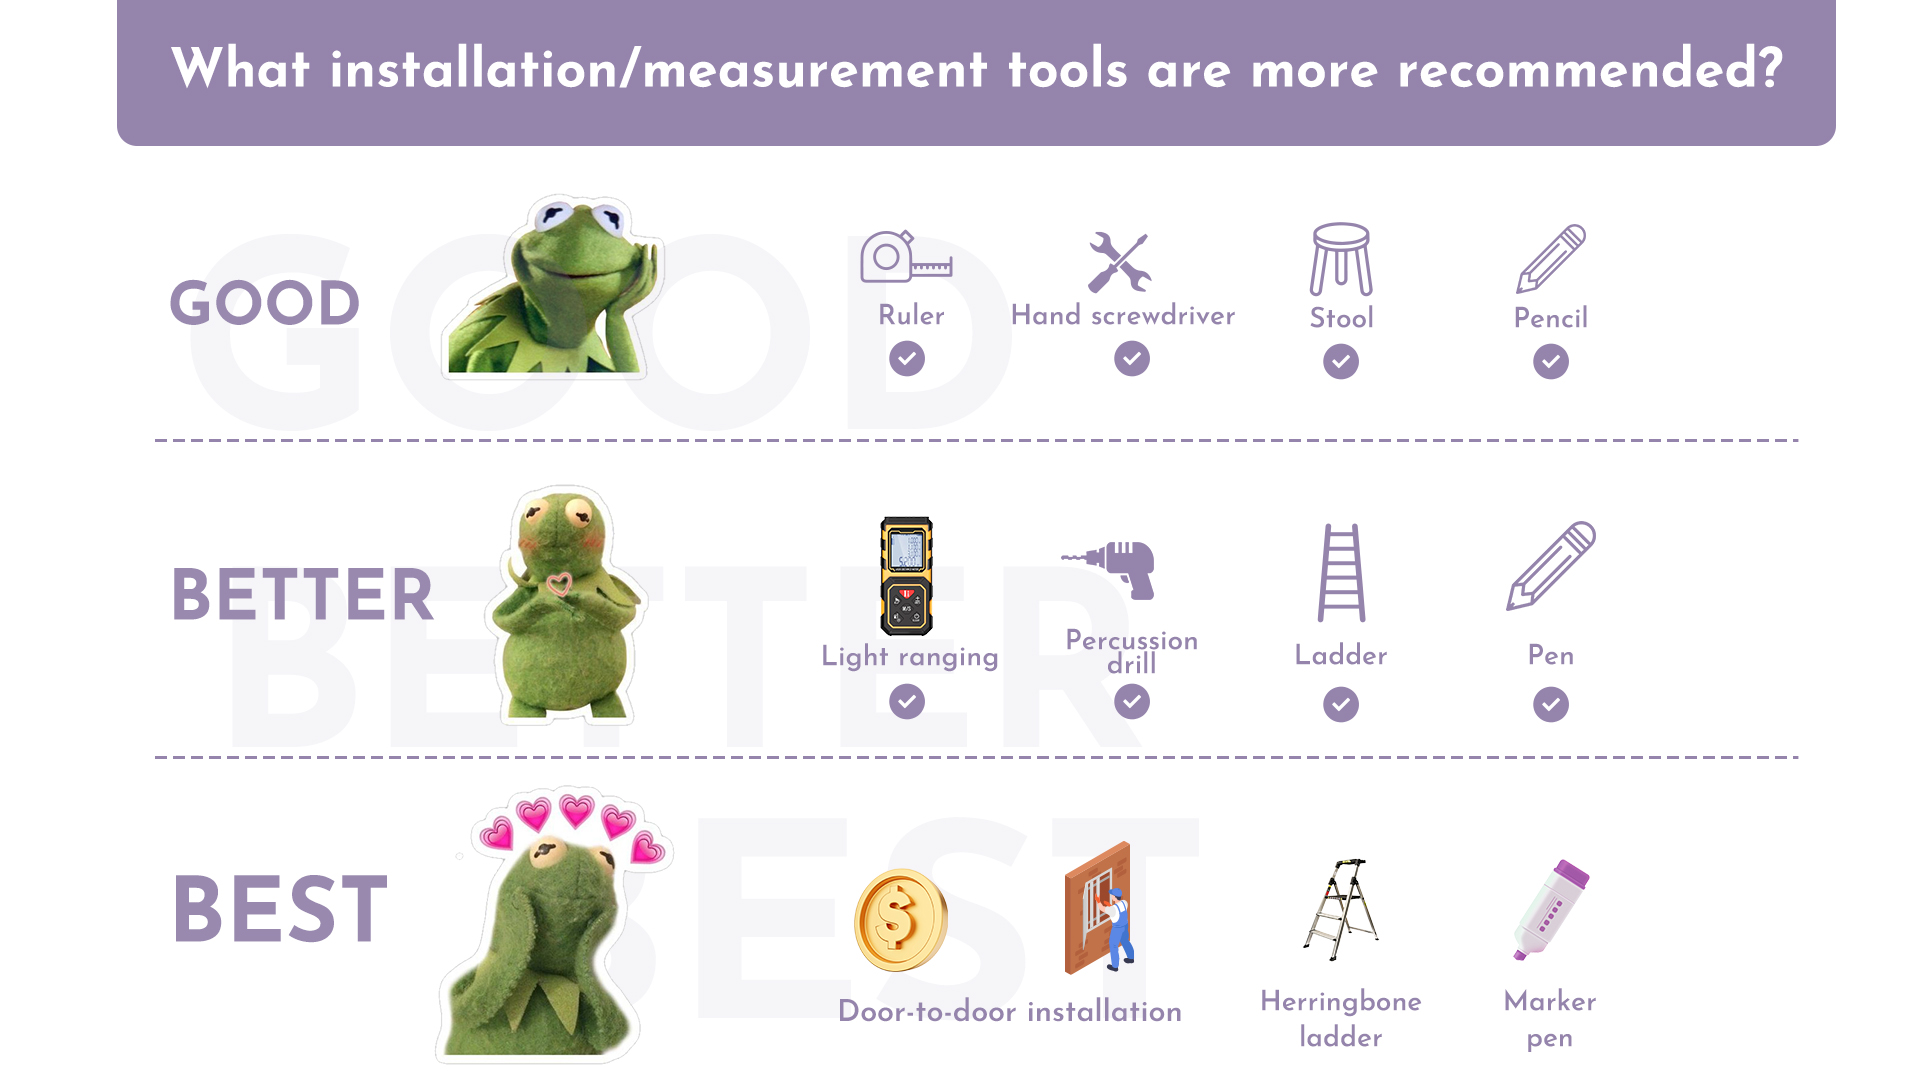
Before starting, gather these essentials:
|
Tool |
Purpose |
Alternative Options |
|
Measuring tape |
Precise window measurements |
Laser measure |
|
Drill & bits |
Secure mounting brackets |
Adhesive mounts (no-drill) |
|
Level |
Ensure straight installation |
Smartphone level app |
|
Screwdriver set |
Tighten bracket screws |
Power drill attachment |
|
Pencil |
Mark bracket positions |
Washable marker |
|
Step ladder |
Reach high windows safely |
Sturdy chair (with caution) |

Step-by-Step Motorized Shades Installation
Step 1: Mount the Brackets
Mark the positions in the product guide and check alignment. Pre-drill with the correct bit, then secure the brackets with supplied screws and suitable anchors when required.
Step 2: Attach the Headrail
Position the headrail in the brackets and engage its locking mechanism. Check that both ends are seated before operation.
Step 3: Connect the Motor
Confirm that the preinstalled motor is charged or connected to its specified power source. Follow the order instructions.
Step 4: Test and Calibrate
Test movement with the remote, then set the upper and lower limits in the online manual. Connect an app, hub, or voice assistant only if the selected motor supports it.
7 Installation Tips
- Use daylight: Align brackets by day, then check light gaps after dark.
- Preview coverage: Outline the shade with paper or painter's tape before drilling.
- Manage cables: Cover exposed power cables with a paintable cord cover.
- Create groups: Group shades by room when the selected controls support it.
- Plan charging: Recharge shades in one room on the same schedule.
- Check safety: Tighten hardware, remove packaging, and clear the travel path.
- Adjust schedules: Update automated times as seasonal daylight changes.

Common Installation Q&A
Q: Measurement tool recommendation.
A: Ruler (vernier caliper, tape measure), app measurement, light ranging, paper.
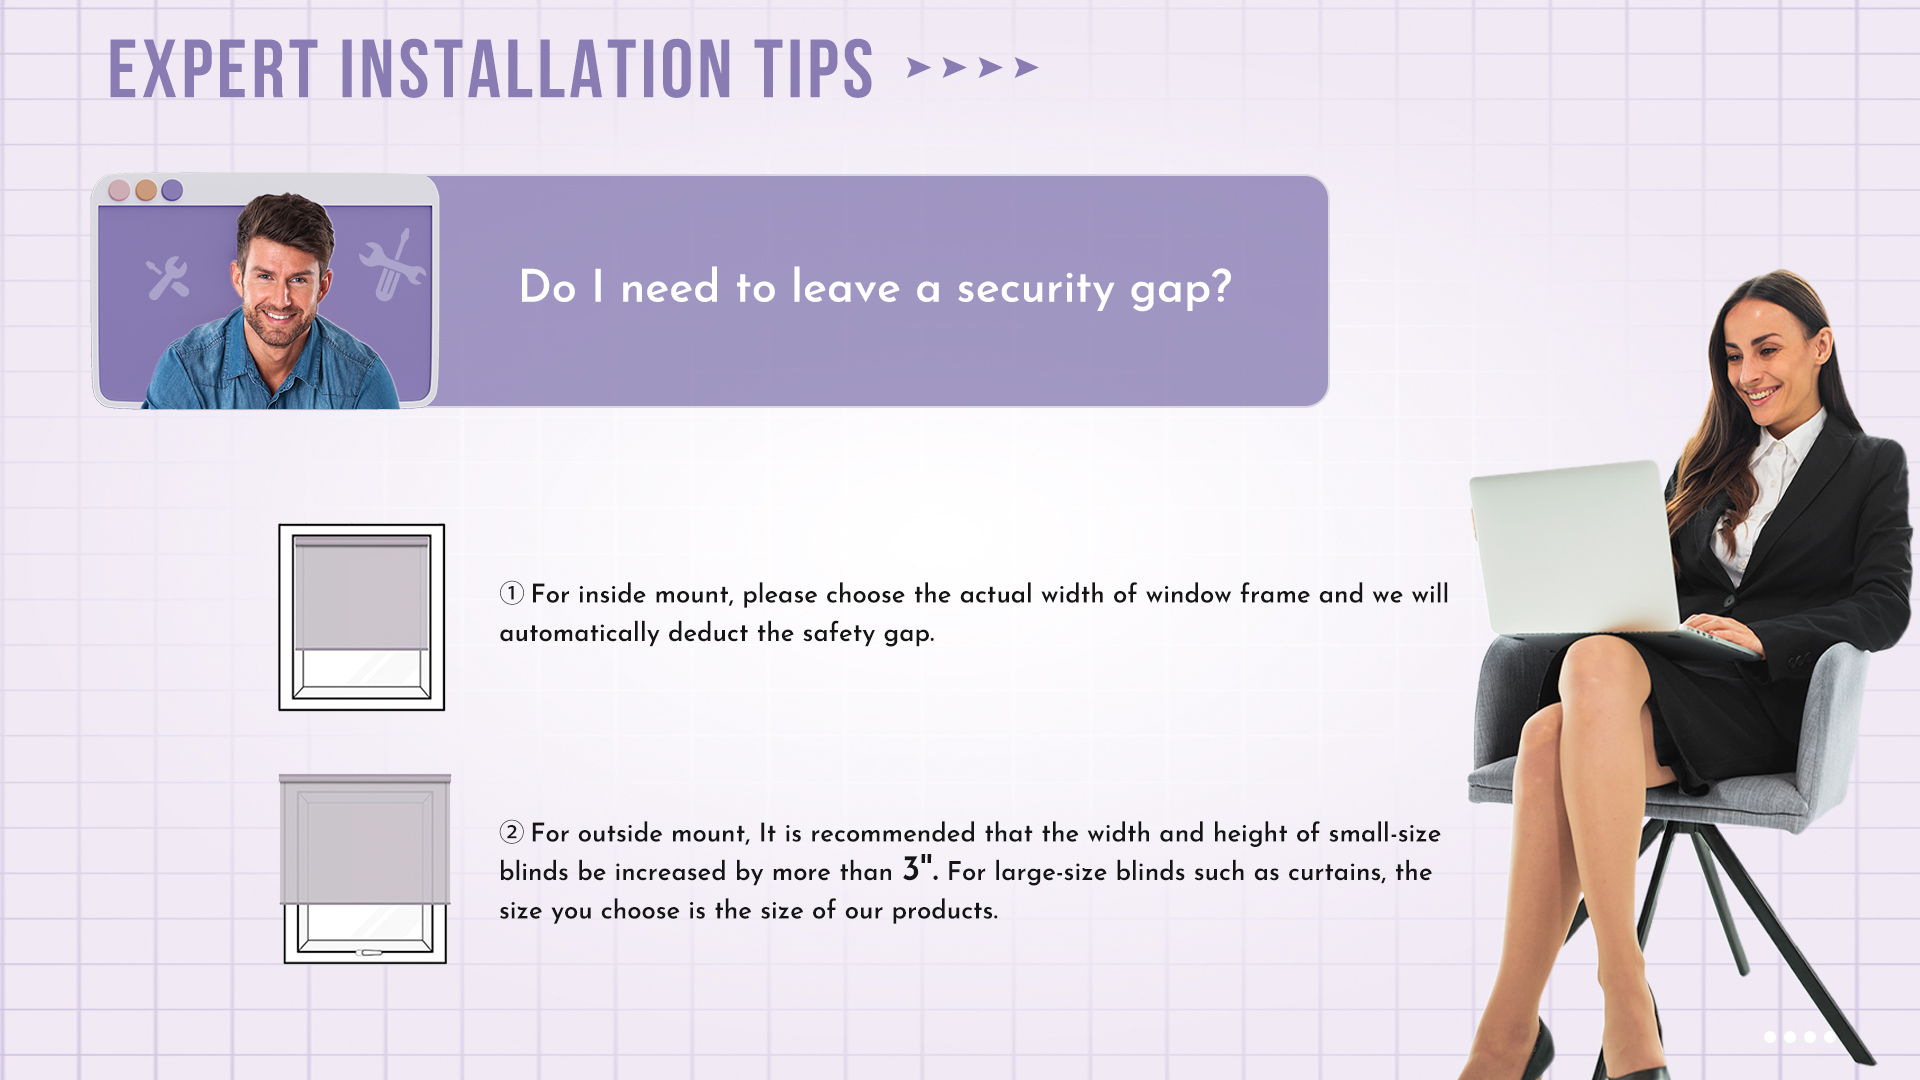
Q: Do I need to leave a security gap?
A: ①For inside mount, please choose the actual width of window frame and we will automatically deduct the safety gap.
②For outside mount, It is recommended that the width and height of small-size blinds be increased by more than 3''. For large-size blinds such as curtains, the size you choose is the size of our products.
Q: How do I choose the outside and inside mount?
A: ①According to the depth of the window, each window requires a different size.
②It depends on individual needs, and the inside mount takes up less space and is more concise. The outside mount is better for shading.
Q: How to measure outside mount?
A: Outside mount depends on how much coverage you want.
Using triangulation or other methods to measure the width and height, it is recommended to add at least 3'' extra.
Q: How to measure inside mount?
A: The width, depth, and height are measured three times along the window frame (up, middle, and down), taking the lowest value.
Graywind blinds can set a lower limit, even if the measured height exceeds, it will not exceed the window frame.
Q: How to explain Width Fraction?
A: For example, if the width is 50 1/2'', choose 50'' for the width row and 1/2'' for the width fraction.
Support & Resources
For faster assistance: Book Support Session
📞Product Questions: +1 213-319-4606 (8 AM - 5 AM PST, Monday-Friday)
✉ service@graywind.com
Don't hesitate to contact our customer service team for any installation questions or product support!
No-Drill Installation Options for Renters
Not all motorized blinds require permanent installation. Graywind's innovative no-drill roller shades offer perfect solutions for rental properties or damage-free installations:
[Wall-Friendly Design | Reliable Durability]
- Spring-supported structure with silicone pads for enhanced friction.
- Lab-certified to hold securely even with 15kg added weight.
[No Tools Needed | Effortless Installation]
- Position inside window frame
- Twist spring supports-ready to use!
[Solar-Powered Freedom]
- Built-in rechargeable system
- Optional solar panels for eco-friendly charging
[Smart Home Ready]
- Direct Alexa compatibility (Zigbee built-in)
- 15-channel remote with scheduling
- 60% blackout textured fabric (ROHS certified)
Pro Tip: If you're hesitant about permanent changes, look for Graywind motorized no-drill blinds that offer easy removal without damage.
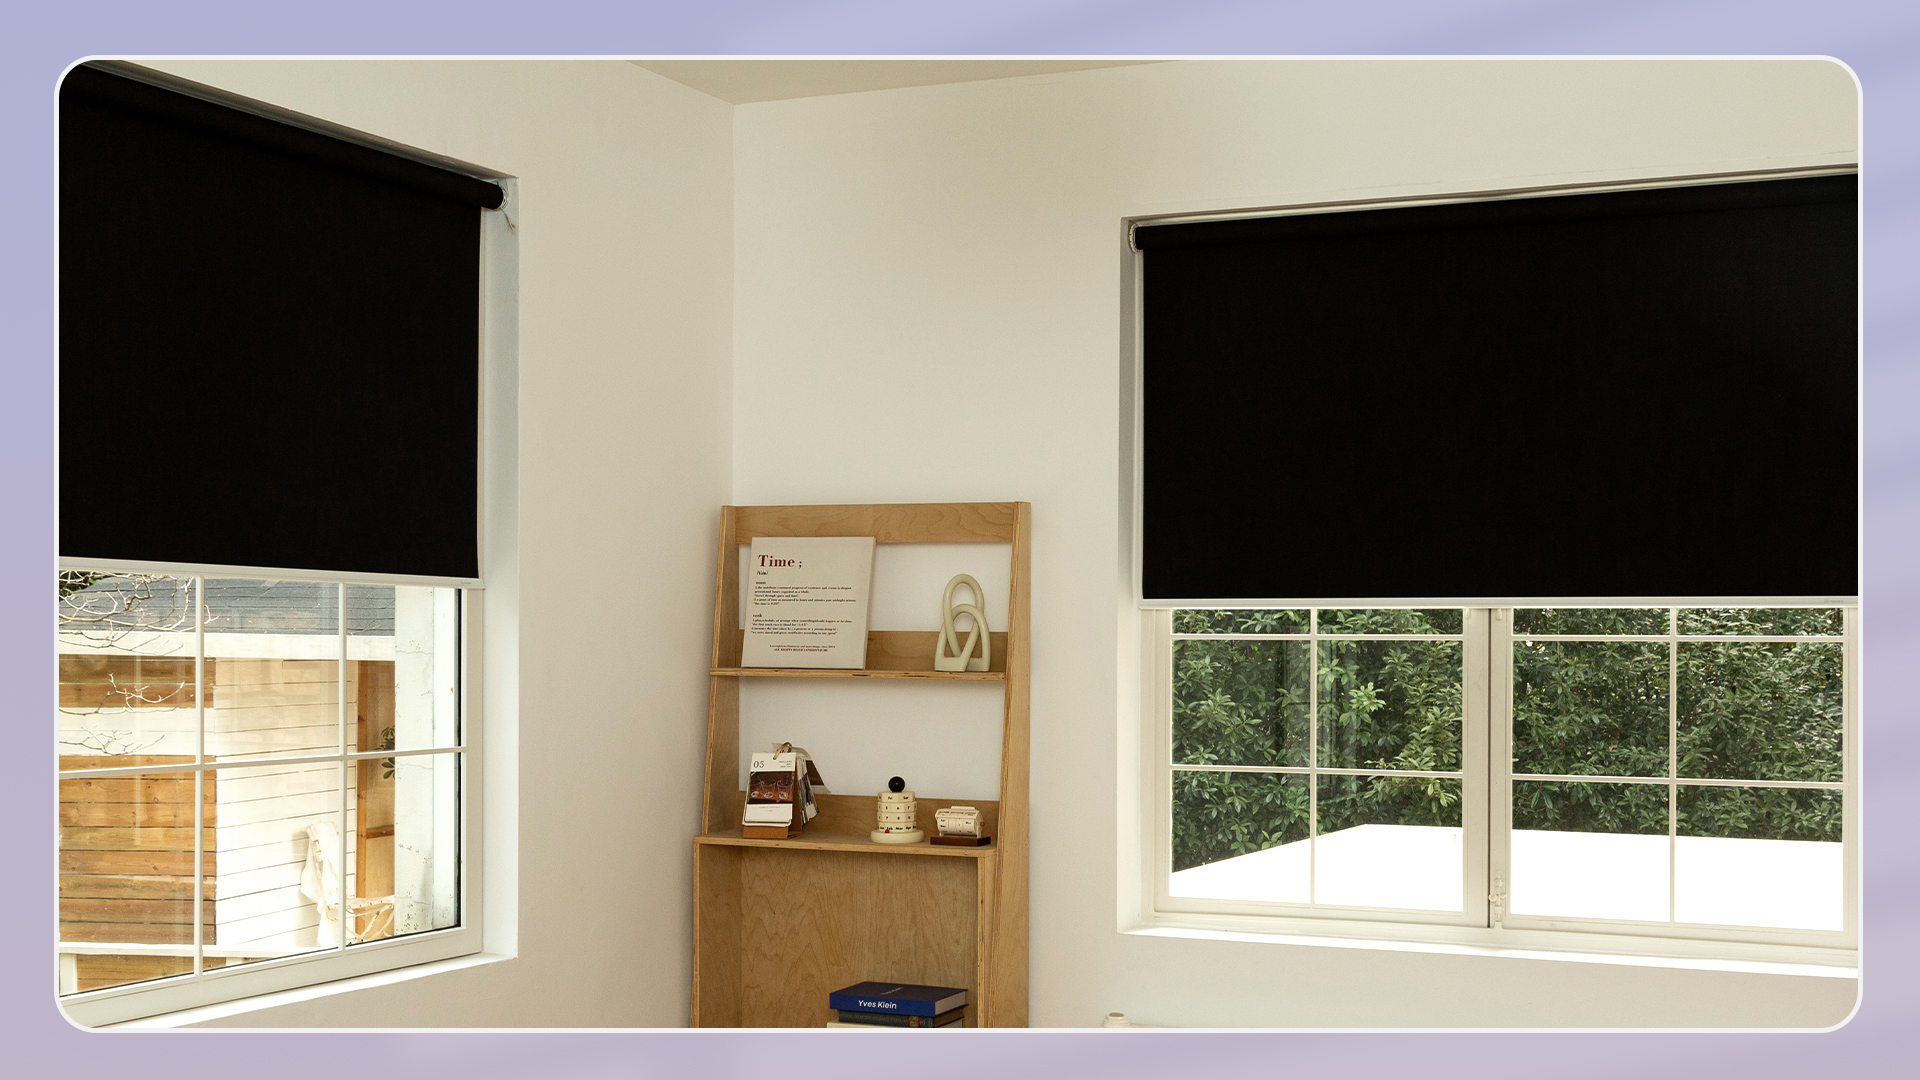

Why Choose Graywind Motorized shades?
Before diving into installation, let's highlight why Graywind's motorized blinds are a great choice:
✔ Quiet & Smooth Operation - High-quality motors ensure noiseless performance.
✔ WiFi & Smart Home Compatibility - Control via app, remote, or voice assistants.
✔ No Wires, No Hassle - Battery-powered for easy setup.
✔ Customizable Sizing - Perfect fit for any window.
Installing motorized blinds is easier than you think! With this guide, you can enjoy smart, automated window coverings in no time.
Upgrade your home with Graywind's motorized blinds today!